
How to find a built-in microphone in a laptop. We adjust an internal microphone on the laptop
- Enable integrated microphone
- Device setup
- Enable and configure portable device
- How to remove noise?
- Support
- Selection
- Instruction
- Options
- Conclusion
- Check the presence of a microphone
- We adjusted the built-in microphone
- We adjust the microphone in Skype
Almost all of today's laptops come with built-in microphones. If the computer has a working microphone, a user with any level of training can start and configure it.
To get started is to check the presence of a built-in microphone on a laptop. In the technical description of the product must be indicated, is there or is missing this device. If a laptop with a built-in webcam, then there is a built-in microphone. Check for the presence of sound card drivers on the laptop and reinstall them. Drivers can be found on the World Wide Web or taken from a disk that comes with a sound card.
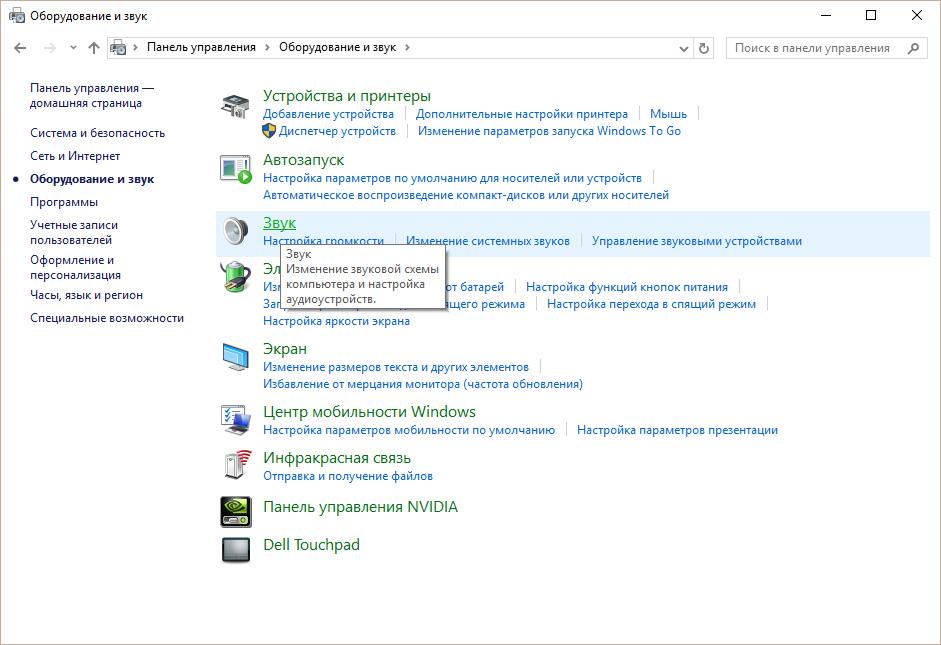
Open "Control Panel", select "Sounds and Audio Devices", open "Audio", find "Record Sound", select the device that is valid by default. Open the “Volume” tab, find the mixer volume, enter “Advanced”, then “Parameters”, tick “Microphone” and click on Ok.

It happens that this technique does not help - the microphone is not detected. This means that it is software deactivated. Move the cursor over the volume label on the toolbar and right-click on it. A “Record” window will appear. Move the cursor to an empty field and right-click with a tick "Show disabled devices". After the microphone appears, turn it on with the mouse.

If the microphone does not function again after your efforts, check the sensitivity level of the device. Perform the operations of step 3, on the “Microphone” device's “Record” option, go to “Properties” and check the settings on the “Levels” and “Enhancements” tabs.
Open the "Advanced" subsection and mark the option "Allow applications to use the device in exclusive mode." Maximize the bit depth and frequency of discredit and monitor the microphone. If necessary, change the bit width and frequency.

Difficulties with the settings are also solved on the tab "Improvement" - amplification of sound.
If after these operations the microphone does not turn on, then the sound adapter is broken. It is difficult for an unprepared user to fix such a nuisance; carry a laptop for revision to the workshop
As part of the functionality of Windows 10, setting up a microphone (both external and built-in) is easy. Enough to carefully study the instructions and you can get a full-fledged working microphone.
Enable integrated microphone
Enabling the built-in microphone on a laptop with Windows 10 is as follows:
Device setup
Initially, you need to check whether the driver for the microphone is installed in the system.
For this, the following set of operations are performed:
If everything is done correctly, a green circle appears on the microphone icon, with a corresponding daw.
Enable and configure portable device
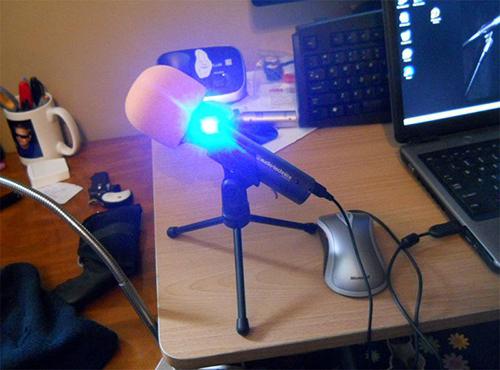
You can easily connect a microphone to a laptop in the appropriate slot (one for the microphone, the second for headphones). If after connecting from sound device I can not hear anything, you should check the socket on / off.
The following actions should be performed:
How to remove noise?
Before removing annoying noises in the microphone, it is necessary to check the device and detect its weak points.
Microphone in principle. In general, now 99% of laptops come with a built-in microphone, but there will be no need for verification. To do this, inspect the laptop case and read the specification. The documents to your laptop will definitely be spelled out whether it has a built-in microphone or not. Know that if your laptop has a webcam, then there is a microphone for sure. The microphone can also be seen through the "Device Manager".
Check availability and microphone settings through the control panel of your laptop. In the Control Panel, open the “Sound” section, the “Recording” tab - if the microphone is built into your computer, it will be displayed there. Click the "Properties" button. Check whether it is enabled, the device settings on the tabs "Levels", "Enhancements", "Advanced".
If the microphone as a device is present in the Control Panel, but you still can’t be heard, it’s possible that it is configured for very quiet sound transmission. In this case, it is necessary to increase the sensitivity of the device. Go back to the Control Panel and open the “Sound” section. Open the "Properties" menu item on the Microphone device. In the "Advanced" tab, check the box next to "Allow applications to use the device in exclusive mode" and "Give priority to applications in exclusive mode". Then put the highest bit and sampling rate. Try to test the microphone after this. If everything is in order, your voice is clearly audible, which means that you have configured the device correctly. If you still can not hear, try again to change the bit and frequency. Please note that the problem may also be in the amplification of the sound, which is regulated on the "Improvements" tab.
Bad sound or poor quality of its reproduction is often associated with the operation of a microphone connected or built into a computer. Problems with the microphone are not always associated with the factory marriage. Most often, you need to change some of the software settings on the computer, and thereby increase the sensitivity of the device.
Instruction
Start the Windows mixer. Its icon with the image of the speaker is in the lower right corner. If there is no mixer icon, perhaps its display
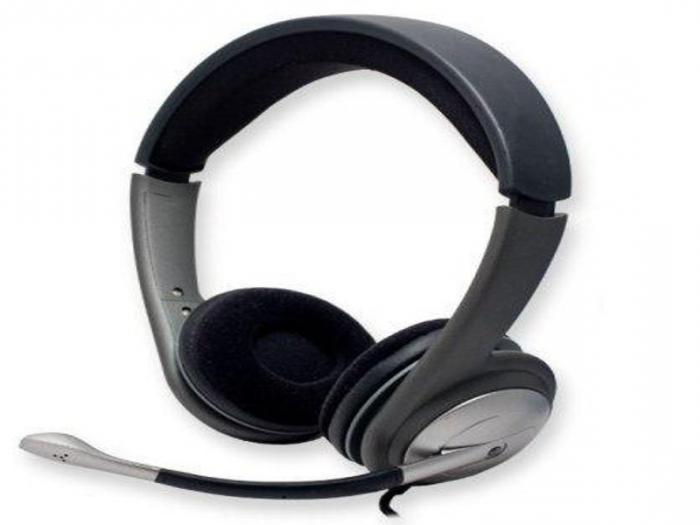
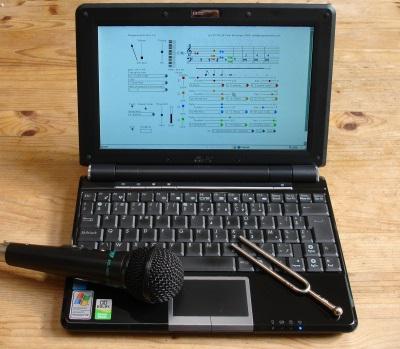
In modern laptops there is a built-in microphone. This is actually a very convenient device! You do not have to make a complex microphone connection to a laptop, as you need to do on personal computers . For PC there are models external microphones , it can be a headset or a simple microphone, respectively, it needs to be connected to a computer, set up, and then checked.
All of the above procedures can be spent a lot of time, but since mobile computers There is a built-in microphone, everything is made much easier. Today you will learn how to set up a microphone on a laptop. Consider a few simple methods.
Support
Before setting up the microphone, you will definitely need to know if this component is present on your device. Of course, nowadays almost all modern laptops are equipped with a microphone, but we recommend that you still make sure that there is a microphone on yours. In order to do this, you just need to get the documentation from your device, carefully read it.
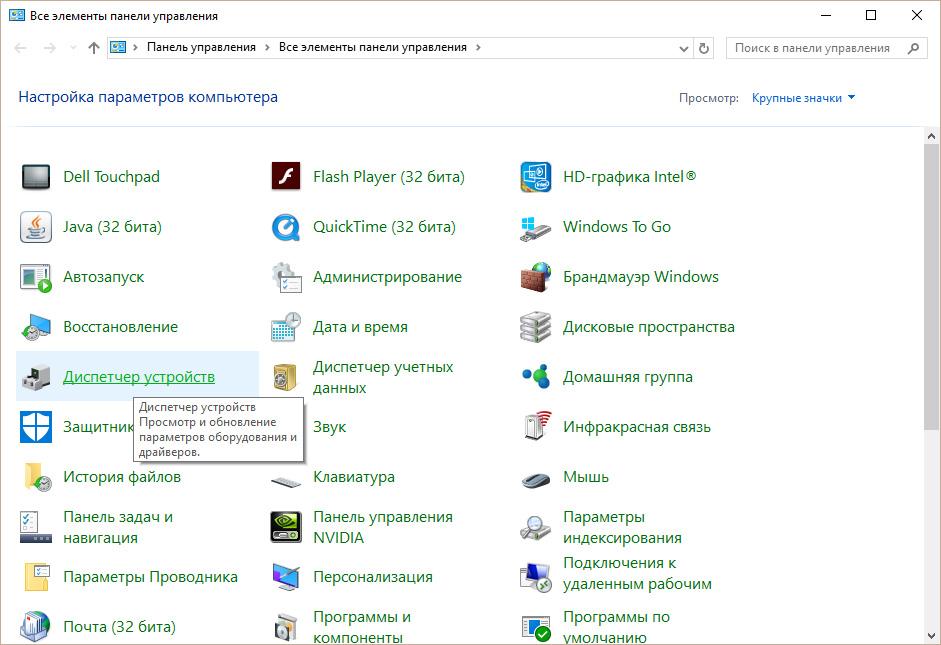
If there are no documents on hand, then you can find out about the presence of a microphone in another way. All you need to do is go to the “Device Manager” menu. You can also check if there is a microphone or not via the Control Panel.
If you are already in this folder, you should find the category “Sound”, and in the new window that opens, select “Record”. In the menu that opens, you can find information on whether you have a built-in microphone or not. If it is, then it will be displayed in the menu.
If the microphone on the laptop does not work for you, then most likely the drivers are installed incorrectly on it. Or on the device they are not at all.
Selection
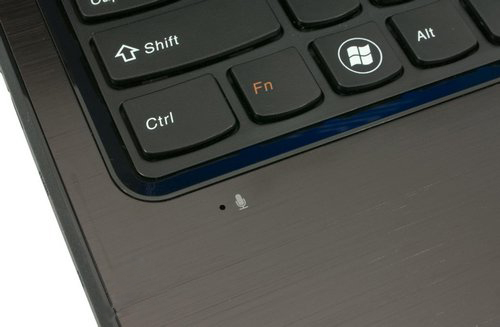
 So, if you find in the menu that you have more than one device displayed at once, then you should determine which device is a microphone. Understanding which device is a microphone is easy! To do this, simply knock on the case where the microphone output is located.
Where the device icon is installed, you will notice green bars. While knocking on this icon, you will see fluctuations. So we decided - it is this device that we will need! Let's go further.
Instruction
 Now let's get to the most basic question - how to set up a microphone on a laptop.
If you have the operating system "Windows XP", then you need to start the configuration by checking the drivers for the sound card. It also happens when the drivers are installed, but the microphone still does not want to work. In this case, you may need to reinstall the drivers, or you will need to look for the problem elsewhere.
You can download the driver for the microphone on the laptop on the manufacturer's official website, and if you have a disc that came with your laptop, then we recommend using it.
If the drivers that were installed from the disk still do not allow the microphone to work, then most likely they will need to be updated. You will need to go to the “Control Panel” menu through the “Start” menu, then find the “Sounds and Audio Devices” tab.
In the "Audio" tab, select the audio recording function, then install the device, which is the microphone. Now go to the "Volume" and there select the tab "Advanced". Now we open a new window by clicking the “Parameters” link, then we select “Properties”. After performing these procedures, you will notice the inscription "Microphone", where you will need to check, after which you must save the settings.
Options
When all the above settings are set, you can see the volume slider. Now you need to make its own settings. If you did everything right, then the question of how to set up a microphone on a laptop will be resolved. As you can see, there is nothing complicated in this; the main thing is to do everything in stages. Differences in the settings may be in different operating systems, but in fact they differ slightly.
Conclusion
 It is important to know that if you plan on using additional programs to work with a microphone (for example, it may be Skype), then you will also need to make additional settings in the program itself.
Accordingly, in each program, the settings may be different. In order to do everything right, the easiest way is to go to the "Instructions" or "Help" section and follow the prompts.
Now you know how to set up a microphone on a laptop. Even if you have a different operating system, you can make settings according to the instructions we recorded or simply use specialized programs for working with a microphone.
The built-in microphone is an indispensable element of almost any modern laptop. If earlier owners of portable computers had to buy a microphone separately, connect it to a laptop, adjust the sound, then now it is not necessary to do this. If your device already has a microphone, it remains only to figure out how to configure it. On all laptop models, the microphone is configured the same way. Minor discrepancies may be due to different operating systems .
Check the presence of a microphone
How to set up a microphone on a laptop? First you need to carefully read the instructions for your equipment and make sure that the built-in microphone really is.
If there is no instruction, use the device manager, where you can also find out about the presence of a built-in microphone. To do this, you must perform the following combination: start-up - control panel - sound - recording. If the laptop has a built-in microphone, then in the menu that opens, you will see this device. If it still does not, then you have to buy an external microphone.
We adjusted the built-in microphone
To set up the built-in microphone on a laptop with an operating windows system XP, first check to see if sound card drivers. If the system was installed recently, it is quite possible that sound drivers just did not have time to deliver. They can be installed from the disk that comes with the laptop, or simply downloaded from the Internet.
If the drivers are, and the microphone still does not work, try to make an update. Click the "Start" button and then "Control Panel", where you will open the tabs in the following sequence: sounds - audio devices - sound recording. Now you need to set the device to be used by default. Then decide on the volume and click the "Advanced" button.
Next, a window will appear where you will first need to select “Parameters” and then “Properties”. Put a tick next to the line “Microphone” and confirm your actions with the “OK” button. After that, a knob should appear that can be adjusted to any volume level. On laptops with other operating systems (Windows7, Windows8 or Windows vista ) The setup procedure is almost the same. The only difference is that after you enter the Control Panel, the tabs need to be opened in the following sequence: sound - record - microphone - properties: microphone - levels.
We adjust the microphone in Skype
For the microphone to work correctly, you need to install special utilities in separate programs. They can be easily found and downloaded on the Internet. There are utilities that remove echo or suppress noise. Others allow you to set the most convenient distance from the user to the microphone.
Despite the fact that all previous settings exhibited correctly, a number of users are faced with the same type of problems in Skype. For example, the interlocutor is not heard, or vice versa - the interlocutor does not hear you.
To set up the microphone in Skype, you need to open the following tabs: tools - settings - sound settings. In the "Microphone" column, select the default device. After that, when talking in the column "Volume" a green bar will appear. Check the box next to “Allow auto tuning microphone. " After that, the sound will become louder or quieter as needed. Details on how to establish a connection in Skype, is in the article -.
If all of the listed methods did not help to set up the microphone, perhaps other methods that you will learn from our instructions will help you. Also useful information on this issue can be found in the article. Well, if the microphone works, but the volume is not enough, refer to the article - How to increase the microphone volume.